
E-mail
the sender of your messages.
Leadlantern sends e-mail through your own Resend account (an e-mail delivery service that bills you for its plan), one message at a time and only when a person presses Send. This section holds the sender and the reply address; the Resend key itself goes under Integrations. Without Resend you can still copy each message into your own mail app.
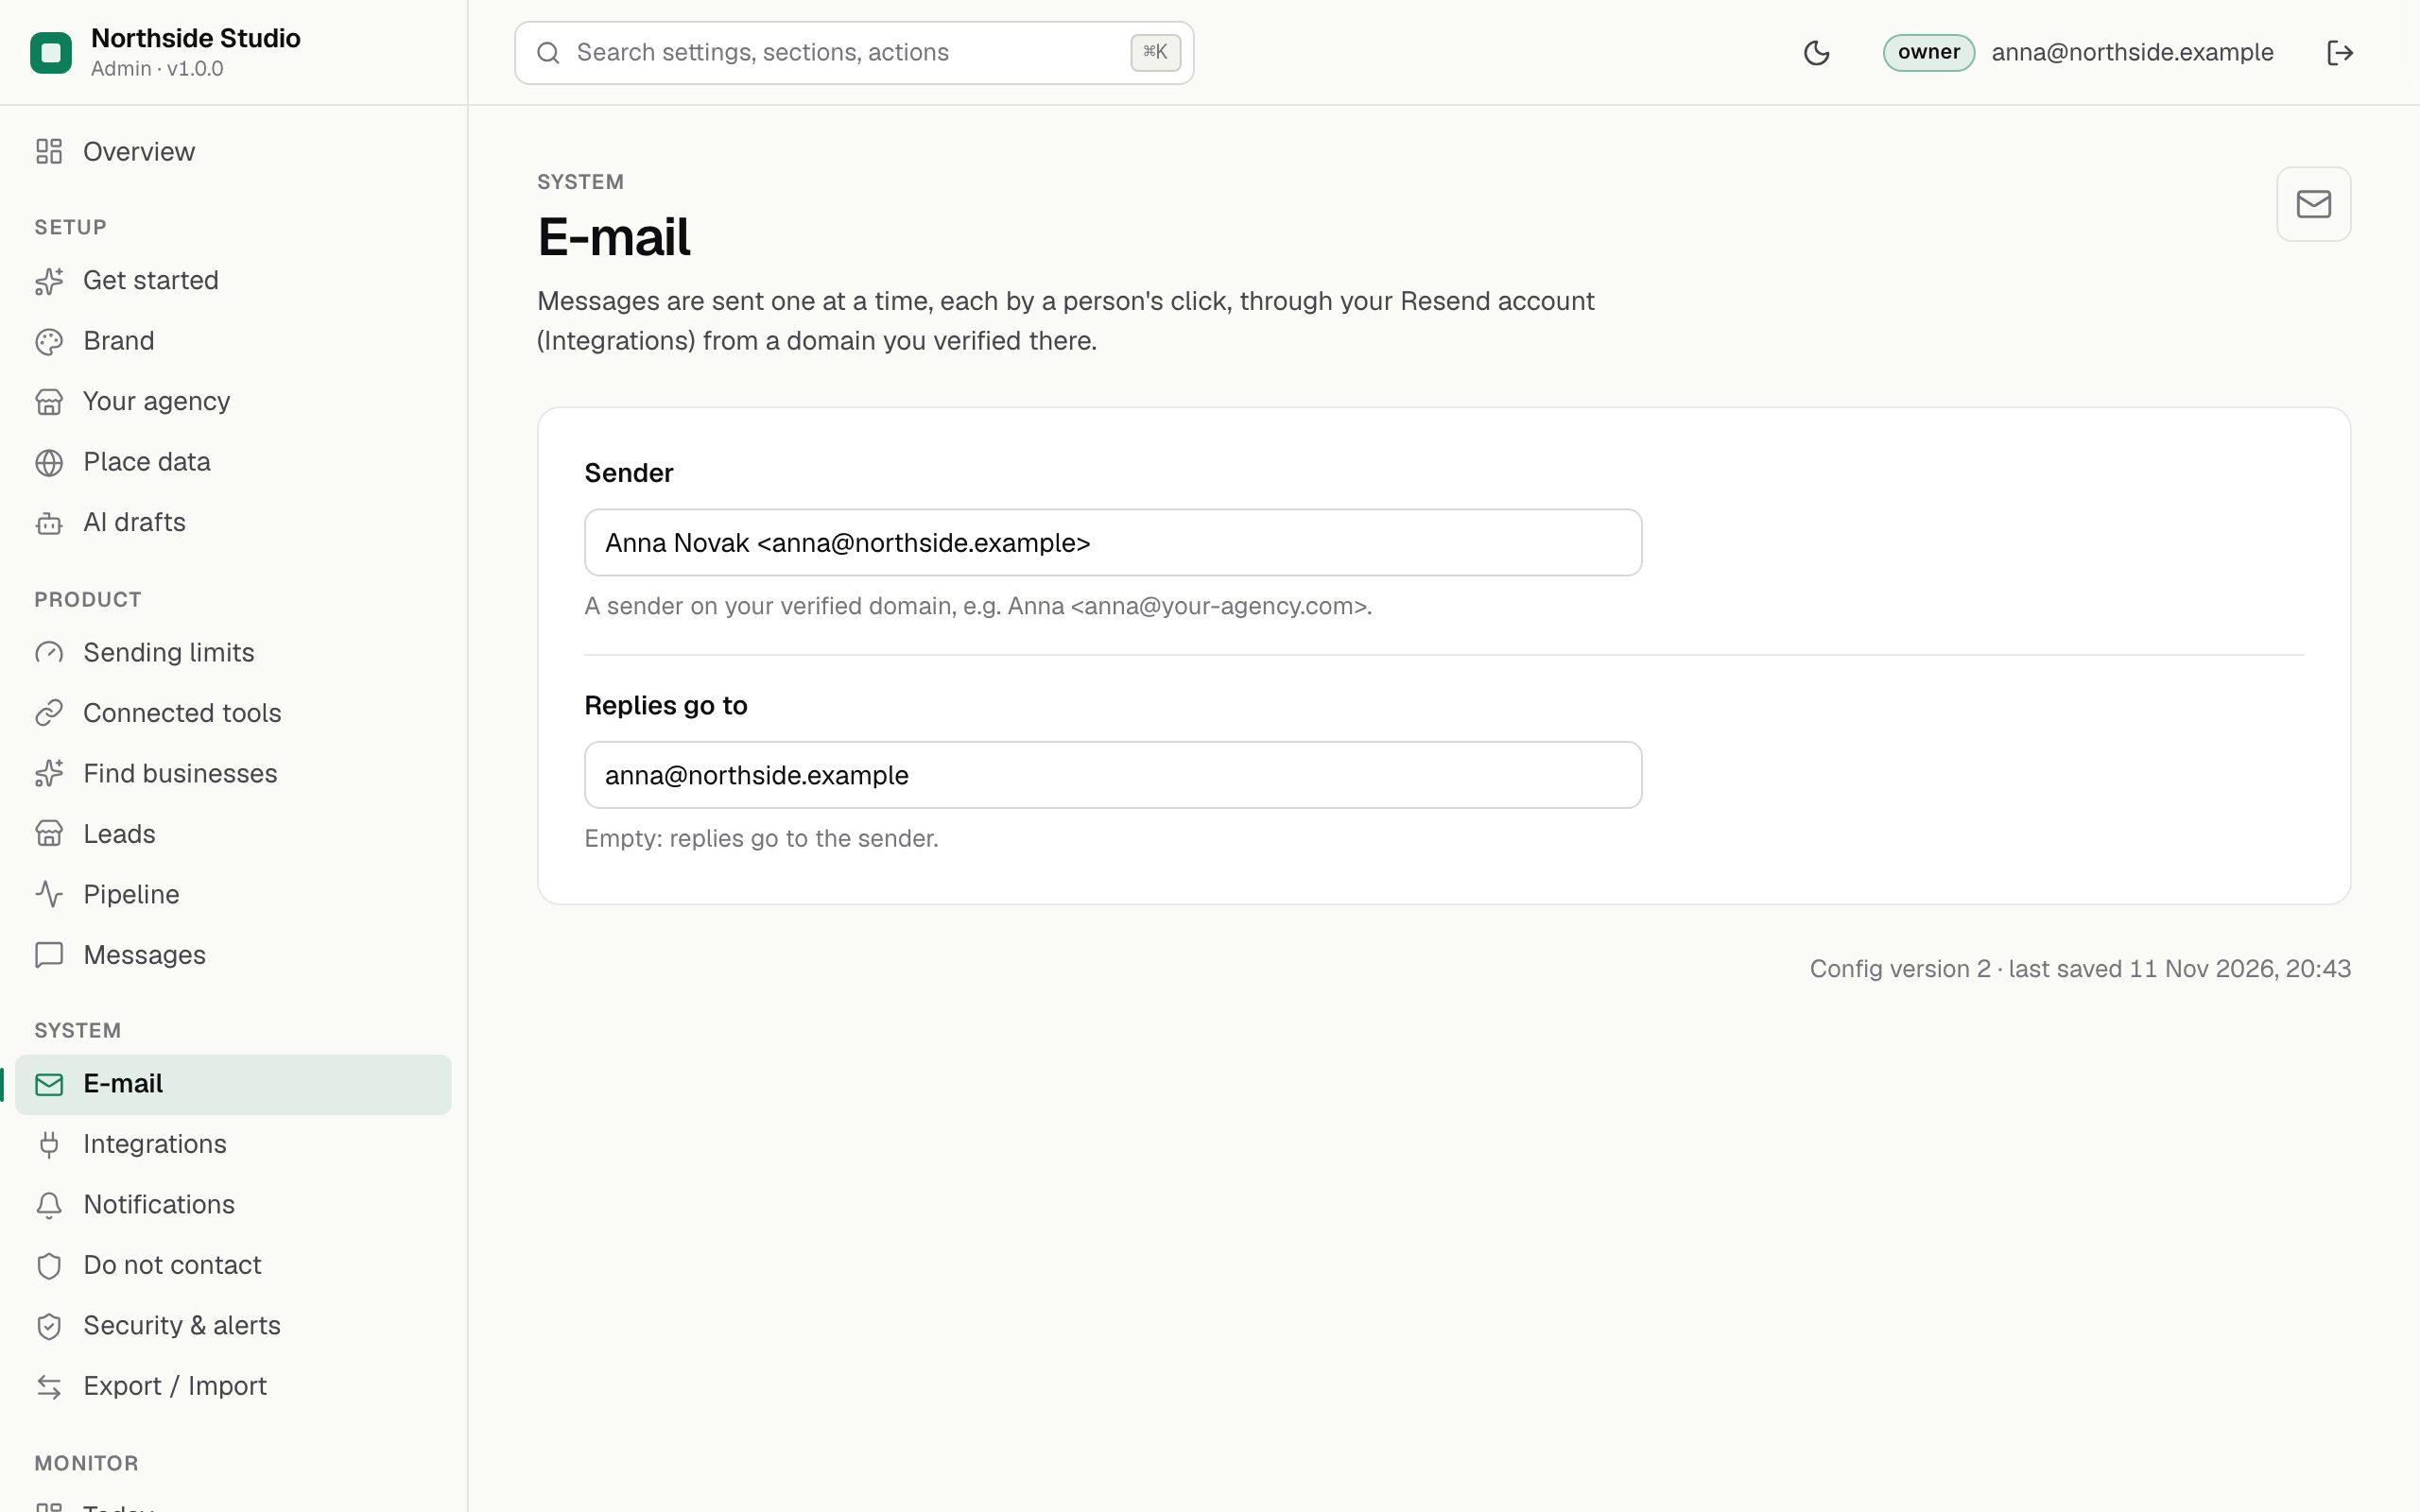
01Fields
| Field | What it does |
|---|---|
| Sender | The From line, on a domain you verified in Resend, e.g. Anna <anna@your-agency.com>. Without it, Send stays off. |
| Replies go to | Where replies land. Empty: replies go to the sender. |
02Example
{
  "email.from": "Anna <anna@northside-studio.example>",
  "email.replyTo": "anna@northside-studio.example"
}03Set up Resend
In plain words: Resend is an e-mail delivery service. Leadlantern hands each message to Resend, and Resend sends it from your own domain so it reaches the inbox and shows your name. Resend bills you for its plan. Before Resend sends anything, you must prove you own the domain by adding a few DNS records at the company where your domain is registered (your DNS host). Without Resend nothing breaks: you copy each message into your own mail app.
You need: a domain you own (for example your-agency.com) and access to its DNS settings.
- Create a Resend account at resend.com and sign in.
- Add your domain. In the Resend dashboard open Domains and press Add Domain. Resend recommends a subdomain that says what the mail is for, for example
mail.your-agency.com, instead of the bare domain. Choose the region closest to the businesses you write to. - Copy the DNS records. Open the domain's Records tab. It lists the records Resend generated for you: DKIM (a TXT record) and SPF (a TXT and an MX record, or CNAME records on newer domains). Add each one at your DNS host exactly as shown; copy and paste, do not retype. If your DNS host is Cloudflare, switch the proxy (orange cloud) off for these records.
- Wait for verification. Resend usually verifies within 15 minutes; DNS changes can take up to 72 hours. The domain's status changes to verified. If it has not after 72 hours, press Restart verification.
- Add a DMARC record (recommended by Resend once the domain is verified). It helps your mail reach the inbox.
- Create an API key. Open API keys and press Create API Key. Give it a name (for example Leadlantern), choose the permission Sending access, and, if you like, restrict it to the domain you just verified. Copy the key now: Resend shows it only once.
Then, in Leadlantern:
- Settings → Integrations → Resend API key: press Set, paste the key, save, press Test connection.
- Settings → E-mail → Sender: a name and an address on the verified domain, for example
Anna <anna@mail.your-agency.com>. Save. - Status shows E-mail can be sent as "set, nothing sent yet"; after the first message it shows whether the last one went out.
A successful test shows the result below the field. A full-access key lists your domains and their state; a sending-access key answers Connection OK. sending-only key, which is also a success.
A working key shows a green Connection OK under the field, followed by your sending domains and their status, for example domains: your-agency.com (verified). A sending-only key shows sending-only key.
If Resend has not verified the domain of the sender, Resend refuses the message. Leadlantern marks it Failed with Resend's reason; nothing was sent (Troubleshooting).
04Without Resend
Every draft has Open in my mail app and Copy the text. Send it from your own mailbox, then press I sent it myself so the waiting times and limits count it. Add your postal address and an unsubscribe note yourself in that case: the automatic footer is added only to messages sent through Resend.